How To Use Thermal Management: A Practical Guide For Optimal System Performance
Thermal management is the critical practice of controlling the temperature of a system or device to ensure its reliability, efficiency, and longevity. From high-performance computing and electric vehicles to consumer electronics and industrial machinery, effectively managing heat is paramount. This guide provides a comprehensive, step-by-step approach to implementing and optimizing thermal management strategies.
Heat is an inevitable byproduct of energy conversion and electronic operation. Uncontrolled heat leads to performance throttling, component degradation, and ultimately, system failure. The core principle of thermal management is to transfer heat from its source (e.g., a CPU, battery, or power unit) to the surrounding environment as efficiently as possible. This process typically involves three methods of heat transfer: conduction, convection, and radiation.
Step 1: System Assessment and Thermal Analysis Before implementing any solution, you must understand your system's thermal profile.Identify Heat Sources: Locate all critical components generating significant heat (processors, power regulators, motors, batteries).Define Thermal Limits: Consult the datasheets for each component to determine their maximum operating temperatures (Tjmax for chips, for example).Establish Target Temperatures: Set a safe operating temperature well below the maximum limit to ensure a safety margin and long-term reliability.Map Airflow: For systems with fans, understand the intended airflow path. Identify any potential obstructions.
Step 2: Selection of Thermal Management Solutions Choose the appropriate solutions based on the heat load, available space, and environmental conditions.Passive Cooling: Uses no moving parts and is highly reliable.Heat Sinks: These are the first line of defense. Select a heat sink with a large surface area and suitable fin design. Material (aluminum vs. copper) impacts cost and performance.Thermal Interface Materials (TIMs): This material (paste, pads, phase-change materials) fills microscopic air gaps between the heat source and the heat sink, drastically improving conductive heat transfer. Applying the correct amount is crucial; too little or too much can hinder performance.Active Cooling: Uses power to enhance heat dissipation.Fans (Forced Air Convection): Choose fans based on their size, airflow (CFM - Cubic Feet per Minute), static pressure (ability to push air through obstructions), and acoustic noise level.Liquid Cooling: For extreme heat loads. Coolant absorbs heat from a cold plate and transfers it to a radiator, where it is dissipated by fans. Offers superior performance but is more complex and costly.Advanced & System-Level Solutions: These include heat pipes (highly efficient heat conductors), vapor chambers, and thermoelectric coolers (Peltier elements).
Step 3: Integration and Installation Proper installation is key to effectiveness. 1. Surface Preparation: Ensure both the heat source and the cooling surface are clean and free of debris. 2. TIM Application: Apply thermal paste in a small, recommended pattern (e.g., a pea-sized dot for CPUs). For pads, ensure the correct thickness to make full contact without acting as an insulator. 3. Mounting Pressure: Securely fasten the cooling solution. Even pressure across the component is essential for optimal thermal conduction. Avoid overtightening, which can damage components. 4. Airflow Management: Position fans to create a logical and unobstructed path for cool air intake and hot air exhaust. Manage cables to prevent them from blocking airflow.
Step 4: Testing and Validation After implementation, you must validate performance.Stress Testing: Use software utilities (e.g., Prime95, FurMark) or operational scripts to push the system to its maximum expected thermal load.Temperature Monitoring: Use hardware monitoring software or thermal sensors to record temperatures of all critical components under load.Acoustic Analysis: Listen for unusual fan noise, which can indicate turbulence or bearing issues.
Step 5: Ongoing Monitoring and Maintenance Thermal management is not a one-time task.Dust Management: Dust acts as a thermal insulator. Regularly clean filters, fan blades, and heat sink fins with compressed air.Fan Health: Monitor fan speeds and be alert for signs of failure, such as increased noise or rising temperatures under low load.TIM Replacement: Thermal paste can dry out and degrade over several years. If temperatures gradually rise, consider repasting.
Prioritize Airflow: A well-designed case with good cable management and strategic fan placement is often more effective than a powerful fan in a choked environment.The Right Tool for the Job: Do not over-engineer. A simple heat sink may suffice for a low-power device. Conversely, do not under-engineer, as thermal throttling will cripple performance.Balance Noise and Performance: Configure fan curves in your system BIOS or software. This allows fans to run quietly at low temperatures and only spin up to higher speeds when necessary under load.Consider the Environment: Ensure the operating environment has adequate ventilation. Do not place devices in enclosed spaces or direct sunlight.Safety First: Always power down and disconnect the system from any power source before working on internal components.Electrostatic Discharge (ESD): Use an anti-static wrist strap when handling sensitive electronic components.Component Compatibility: Ensure the physical dimensions of your chosen cooling solution (especially large heat sinks) do not interfere with other components like RAM modules or capacitors.Liquid Cooling Risks: If using a custom liquid cooling loop, be aware of the risks of leaks, which can cause catastrophic damage to electronics. Always pressure-test the loop before powering on the system.Warranty Voidance: Modifying cooling solutions on some consumer electronics (e.g., laptops, game consoles) may void the manufacturer's warranty. Proceed with caution.By following this structured approach—from initial assessment and careful component selection to proper installation and diligent maintenance—you can master thermal management. This will ensure your systems run cooler, quieter, faster, and with a significantly extended operational lifespan.
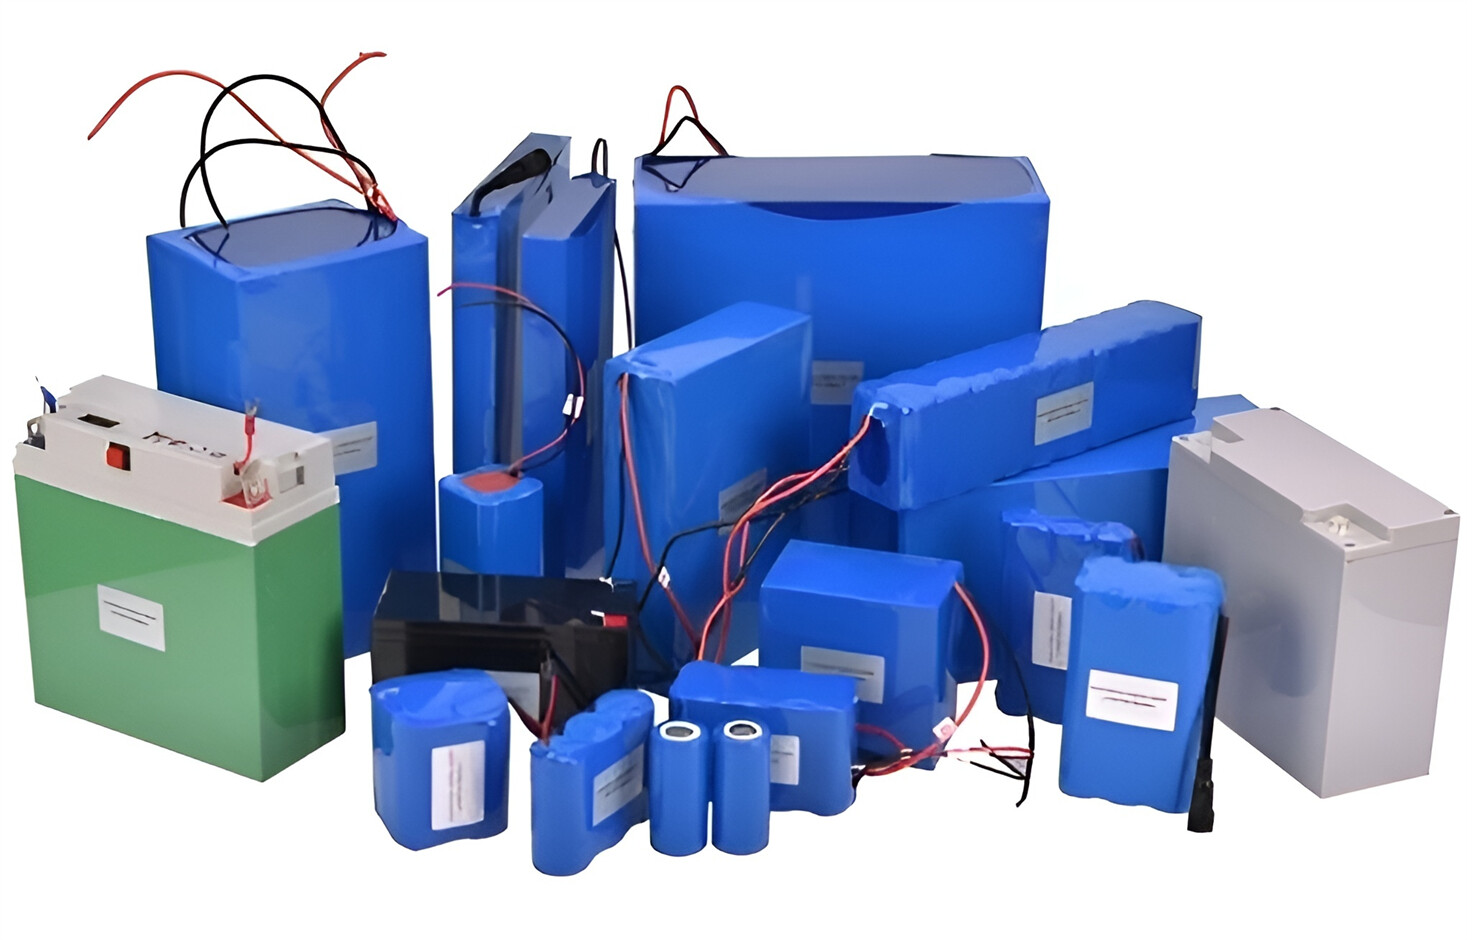
Customized/OEM/ODM Service
HomSolar Supports Lifepo4 battery pack customization/OEM/ODM service, welcome to contact us and tell us your needs.


HomSolar: Your One-stop LiFePO4 Battery Pack & ESS Solution Manufacturer
Our line of LiFePO4 (LFP) batteries offer a solution to demanding applications that require a lighter weight, longer life, and higher capacity battery. Features include advanced battery management systems (BMS), Bluetooth® communication and active intelligent monitoring.
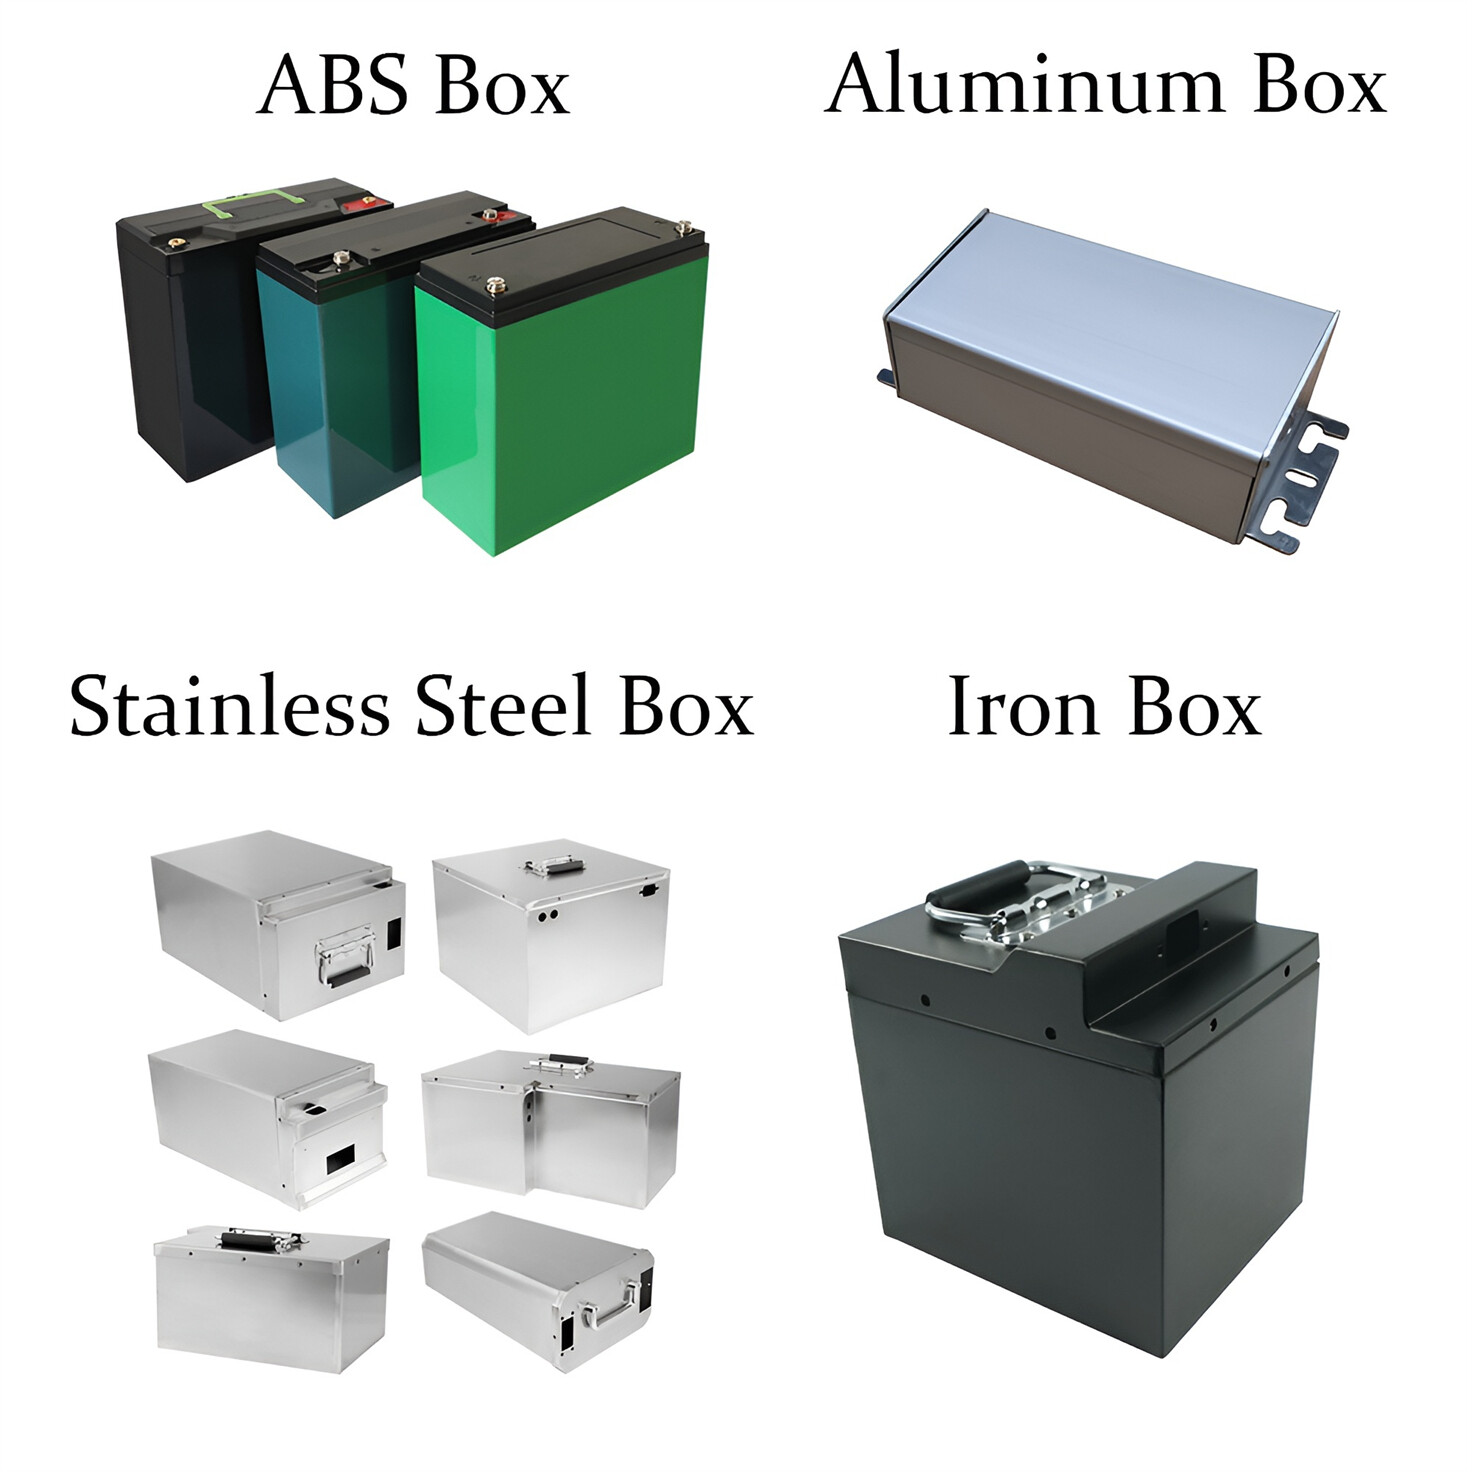
Customised Lithium Iron Phosphate Battery Casing
ABS plastic housing, aluminium housing, stainless steel housing and iron housing are available, and can also be designed and customised according to your needs.
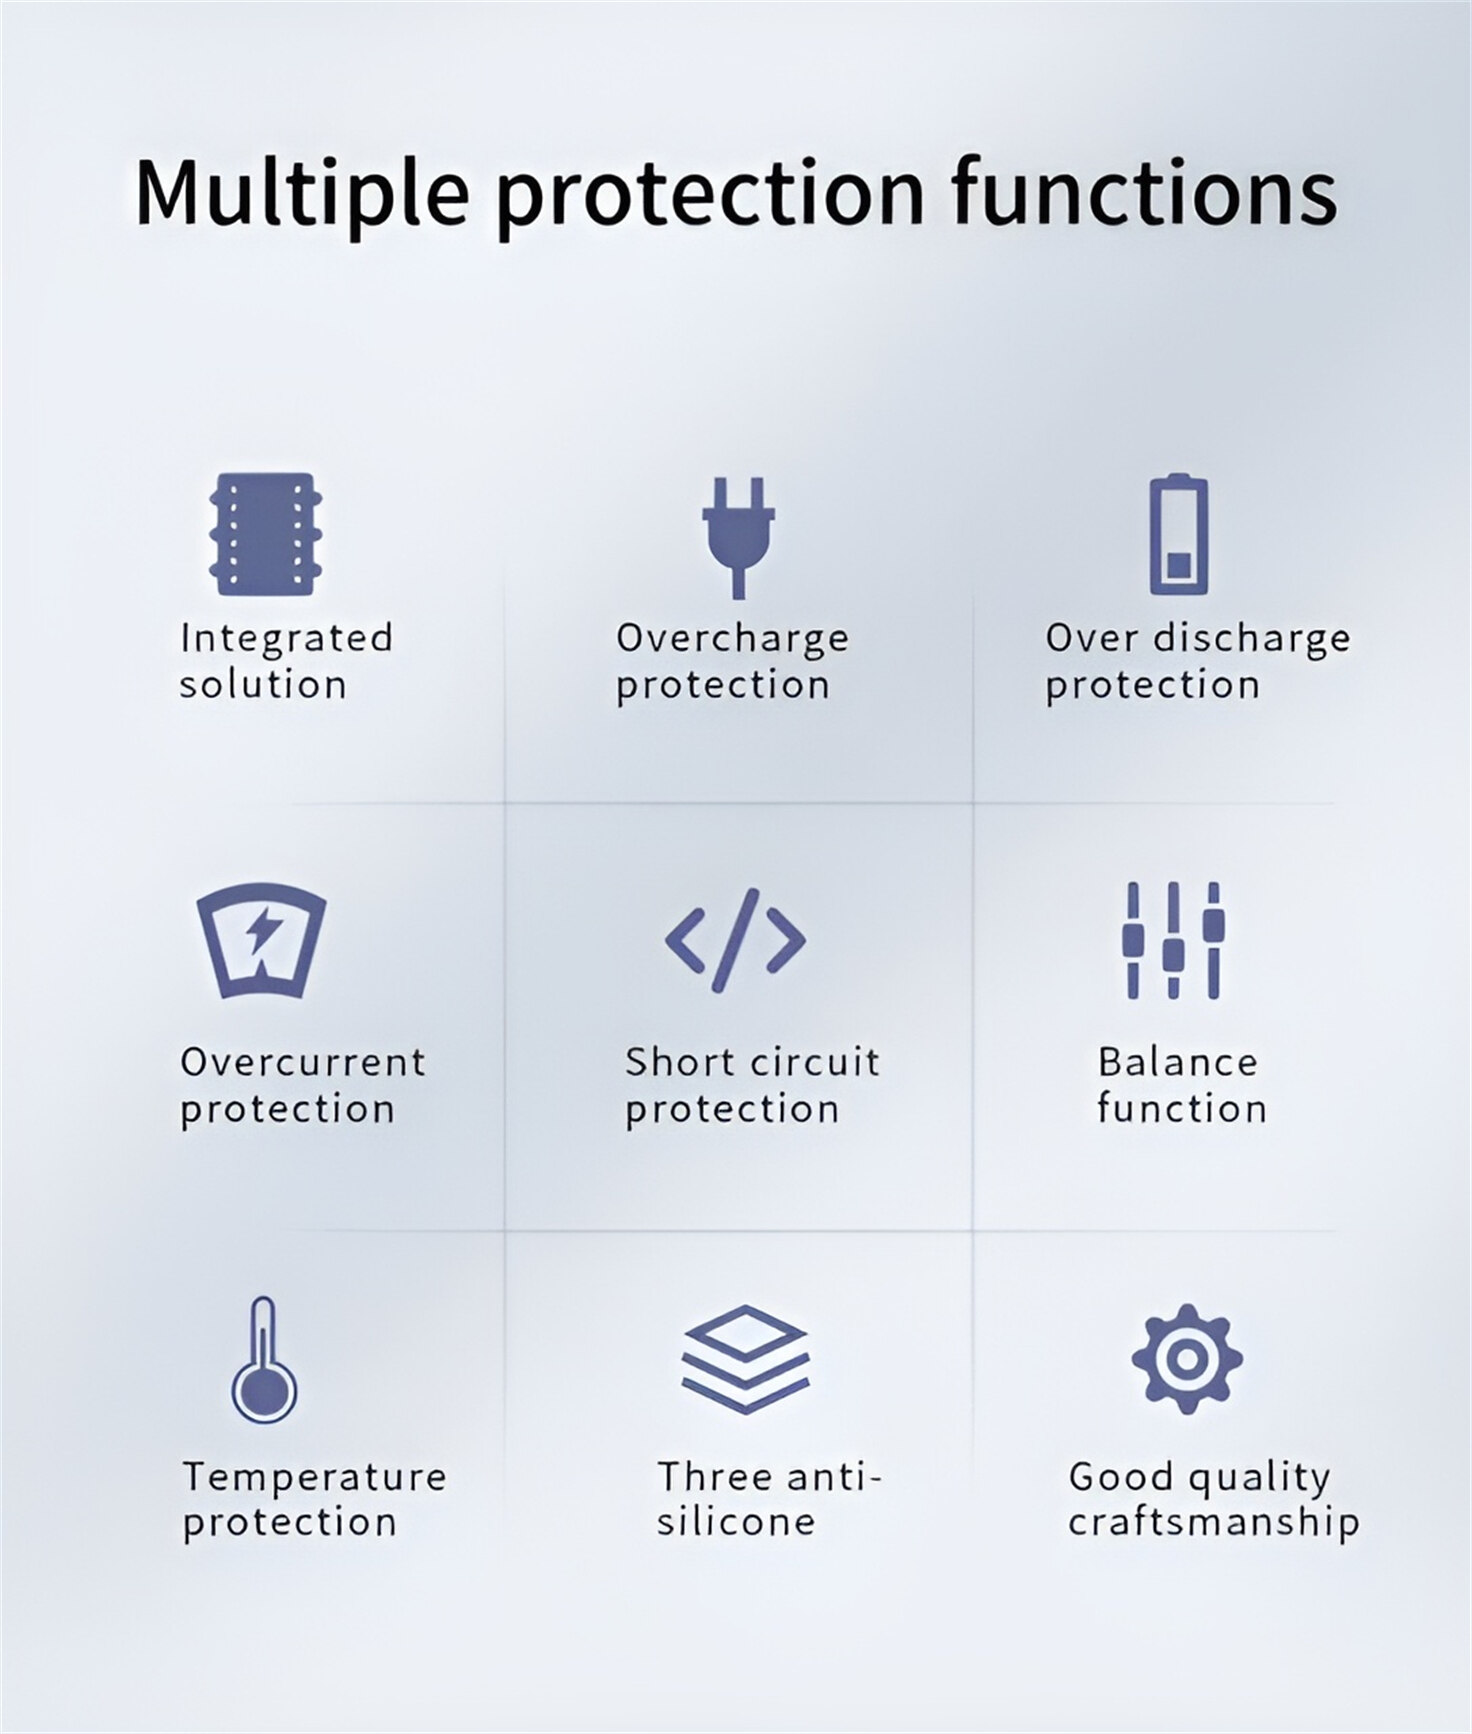
HomSolar Smart BMS
Intelligent Battery Management System for HomSolar Energy Storage System. Bluetooth, temperature sensor, LCD display, CAN interface, UART interface also available.

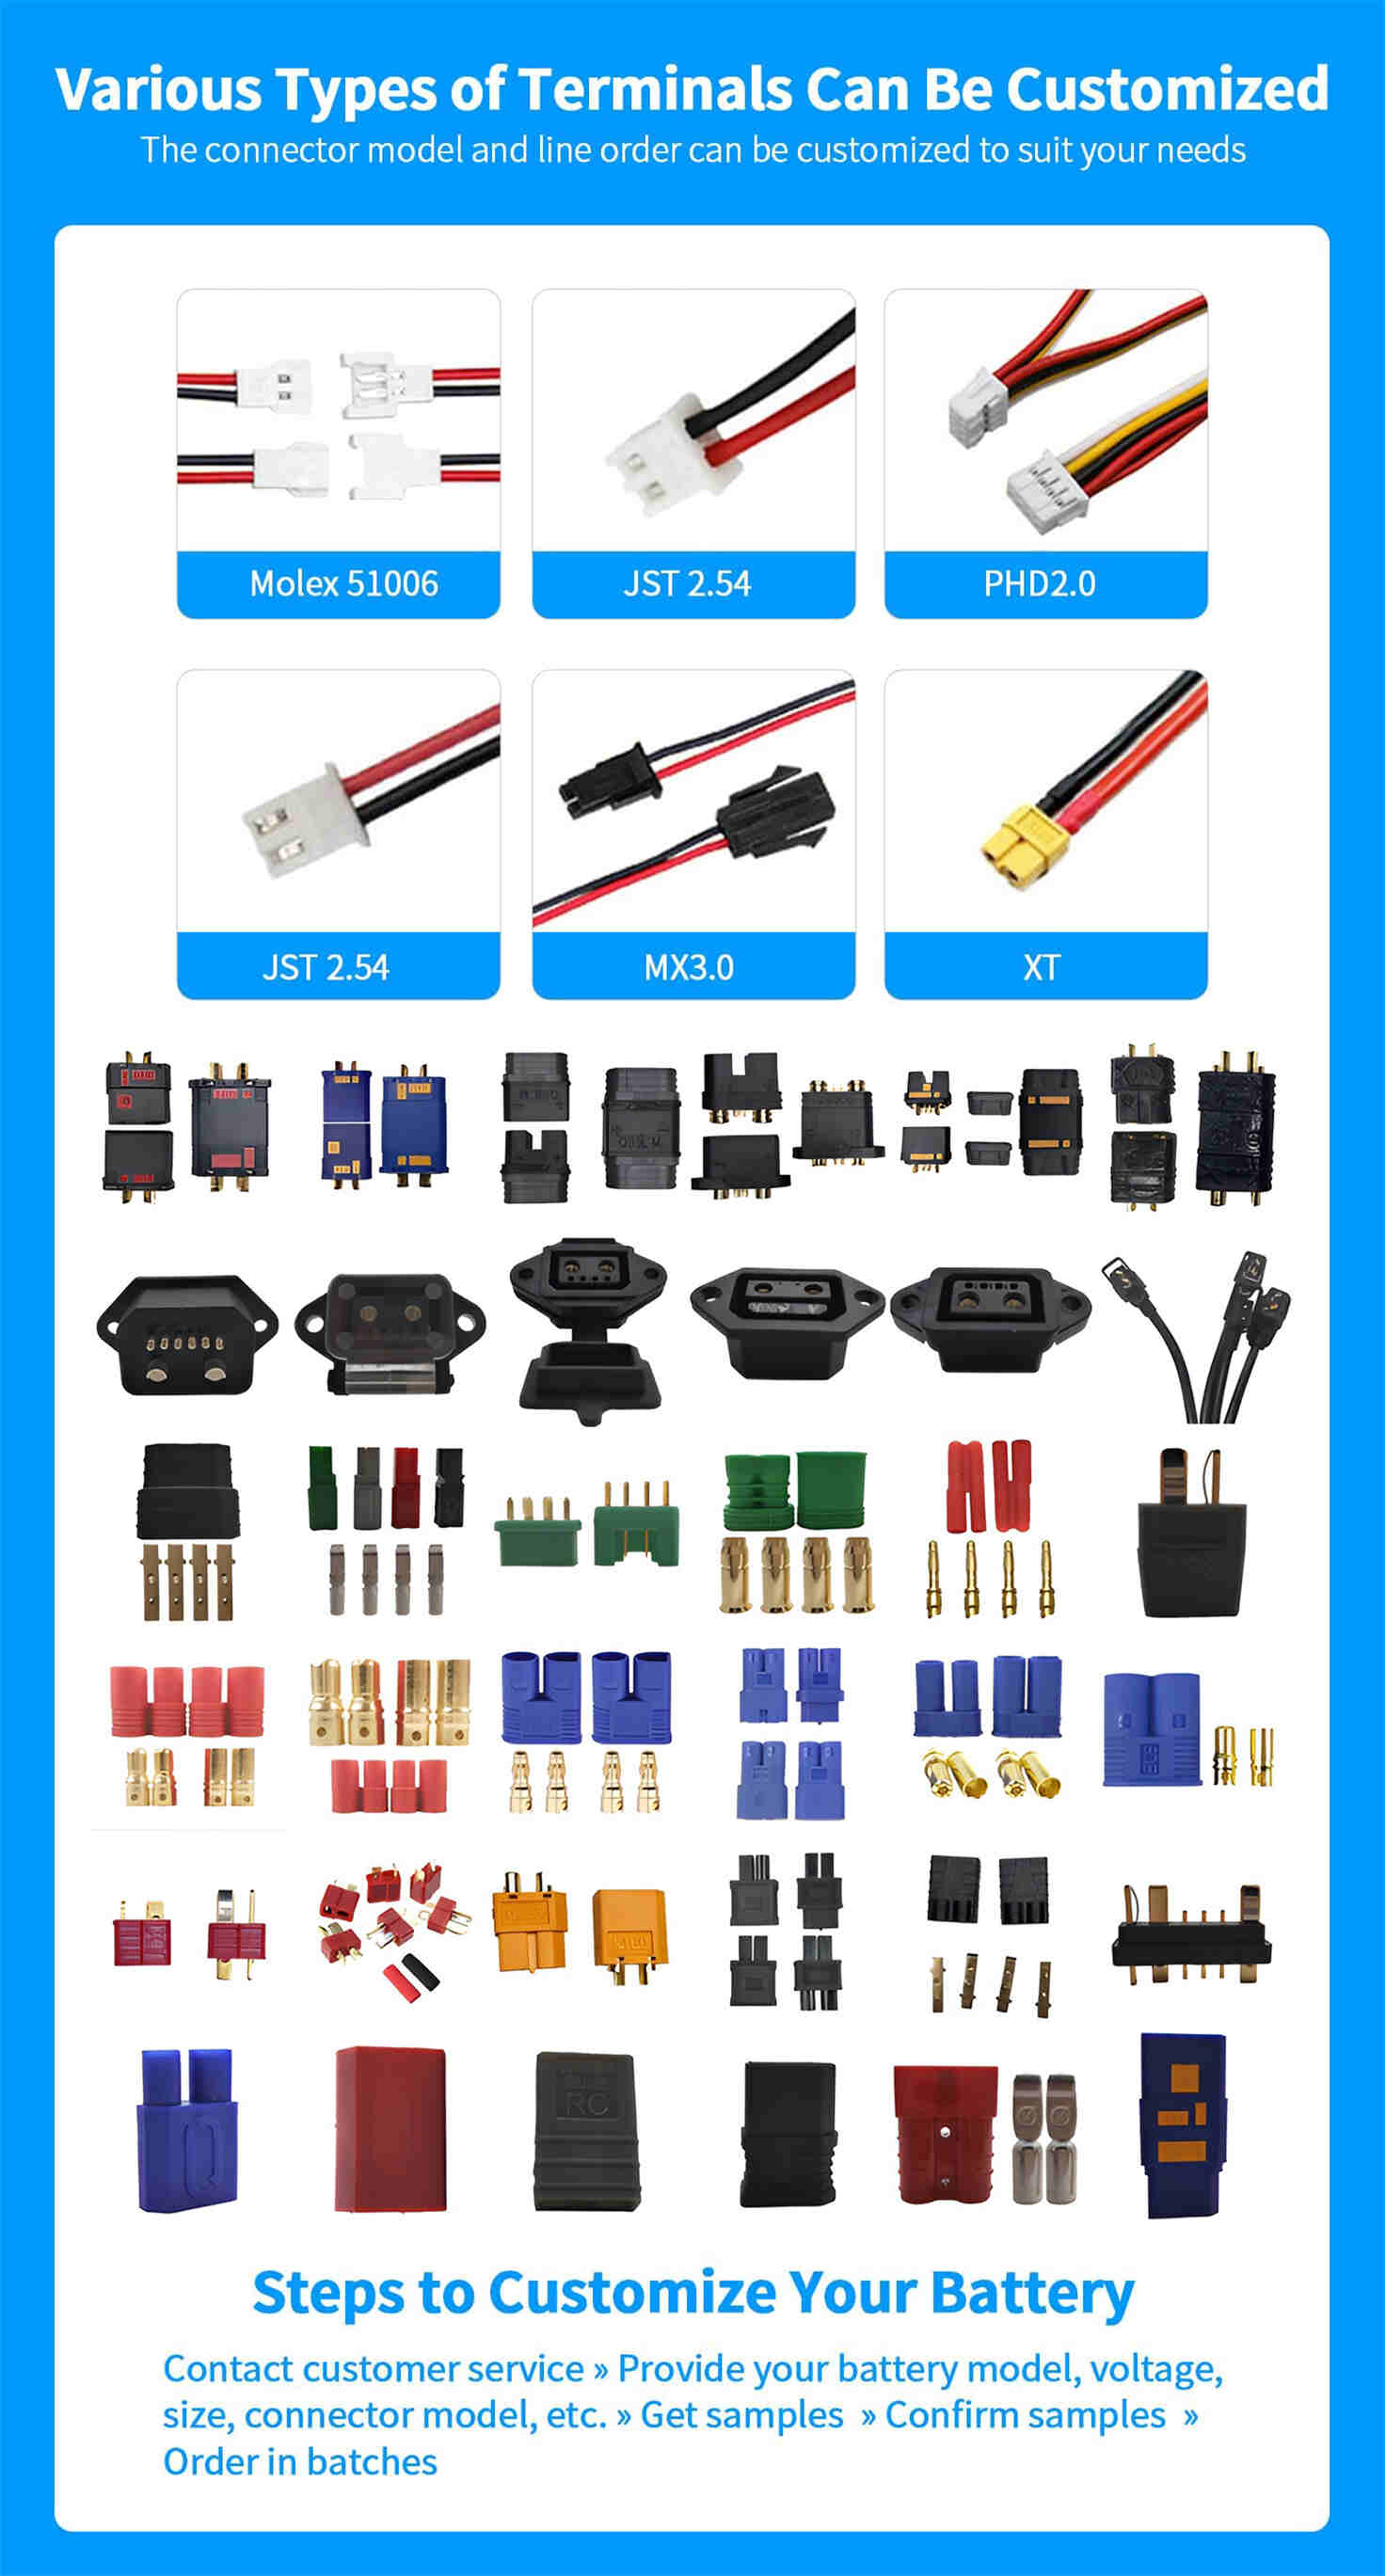
Terminals & Plugs Can Be Customized
A wide range of terminals and plugs can be customised to suit the application needs of your battery products.
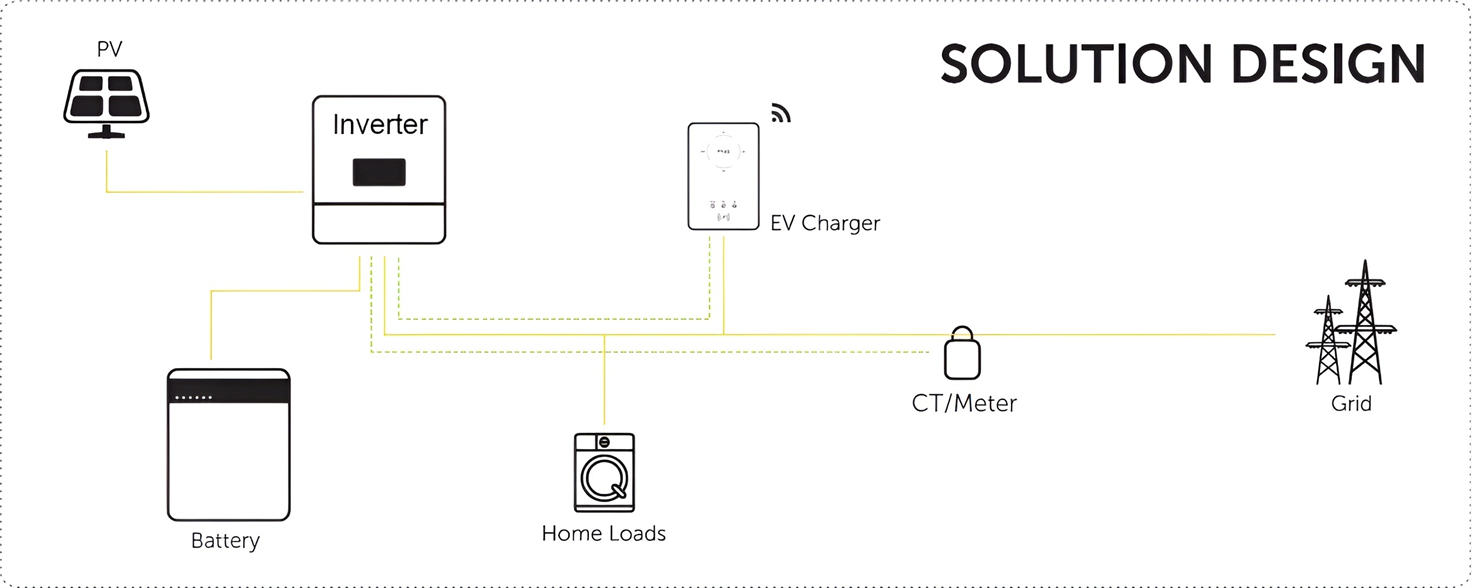
Well-designed Solutions for Energy Storage Systems
We will design the perfect energy storage system solution according to your needs, so that you can easily solve the specific industry applications of battery products.


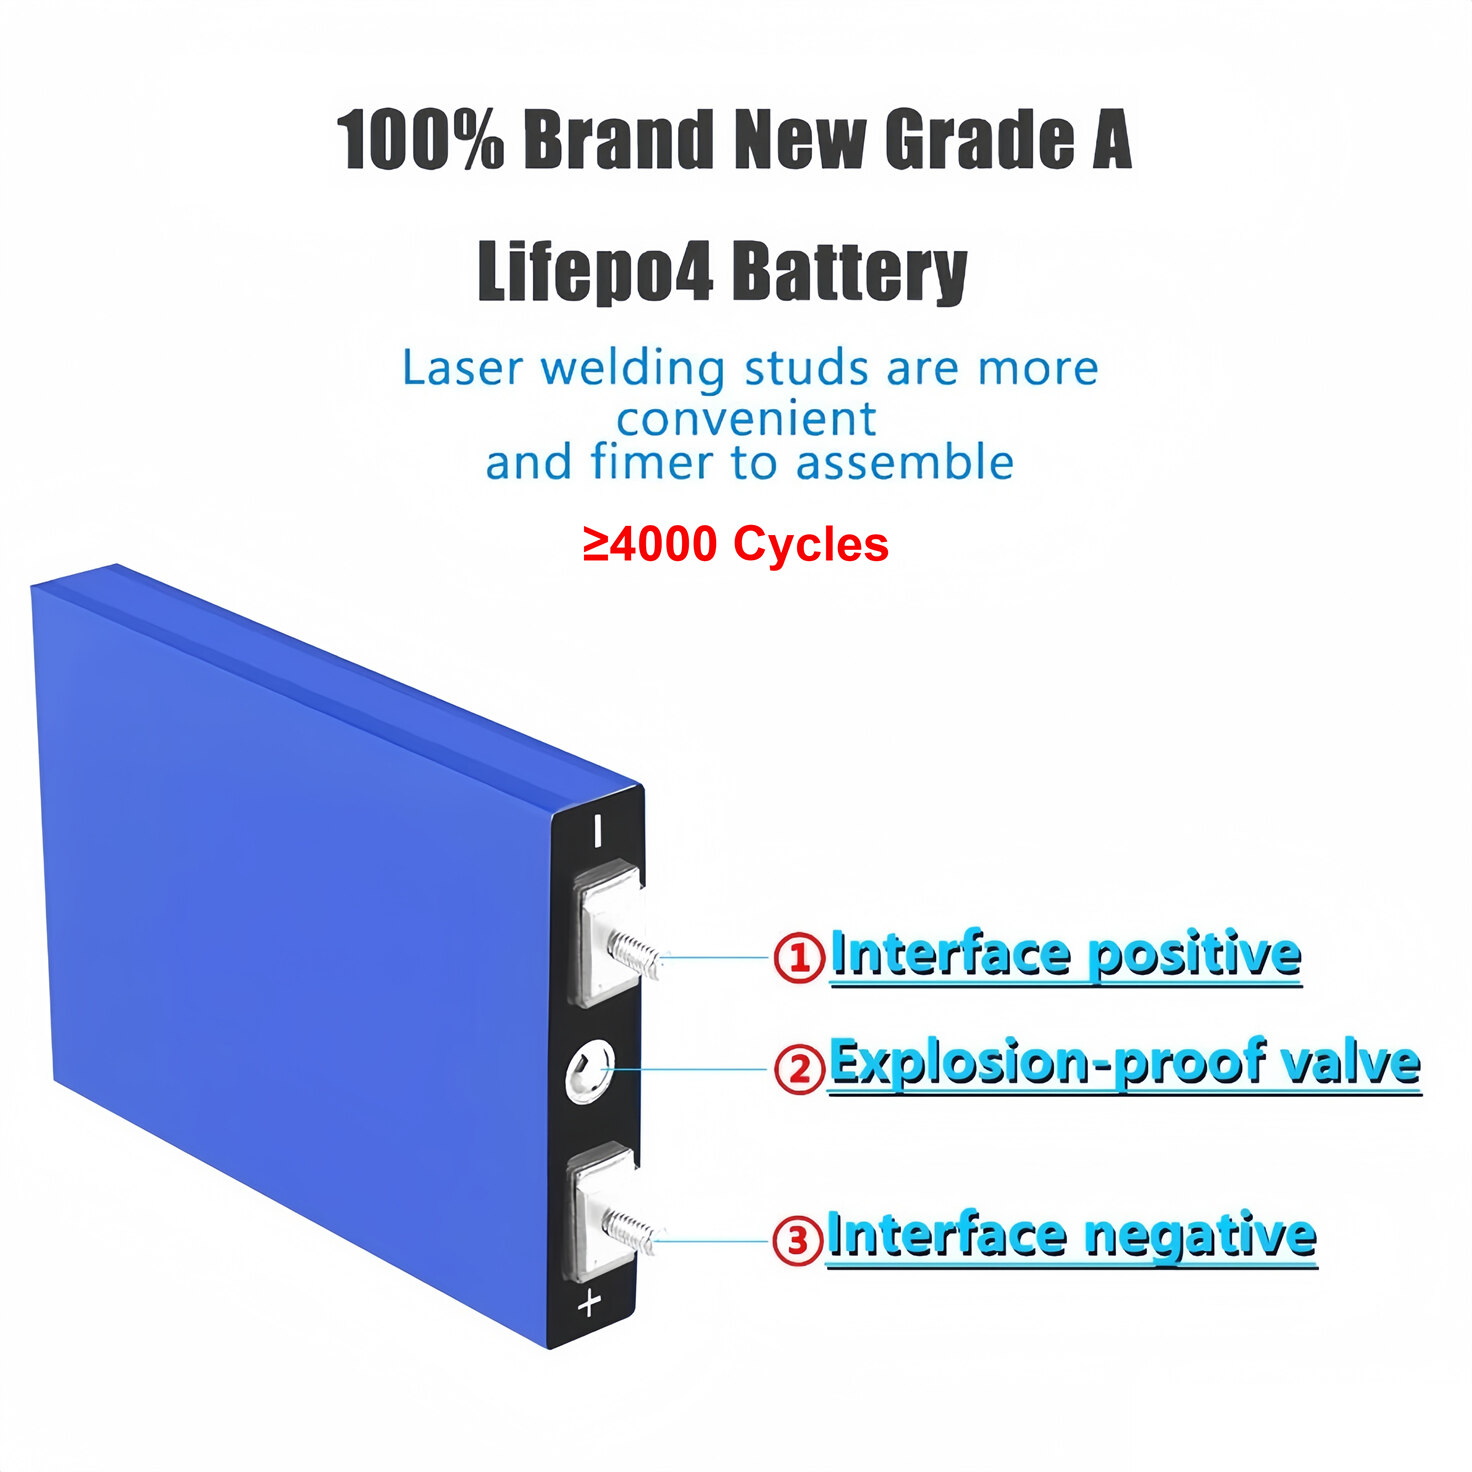
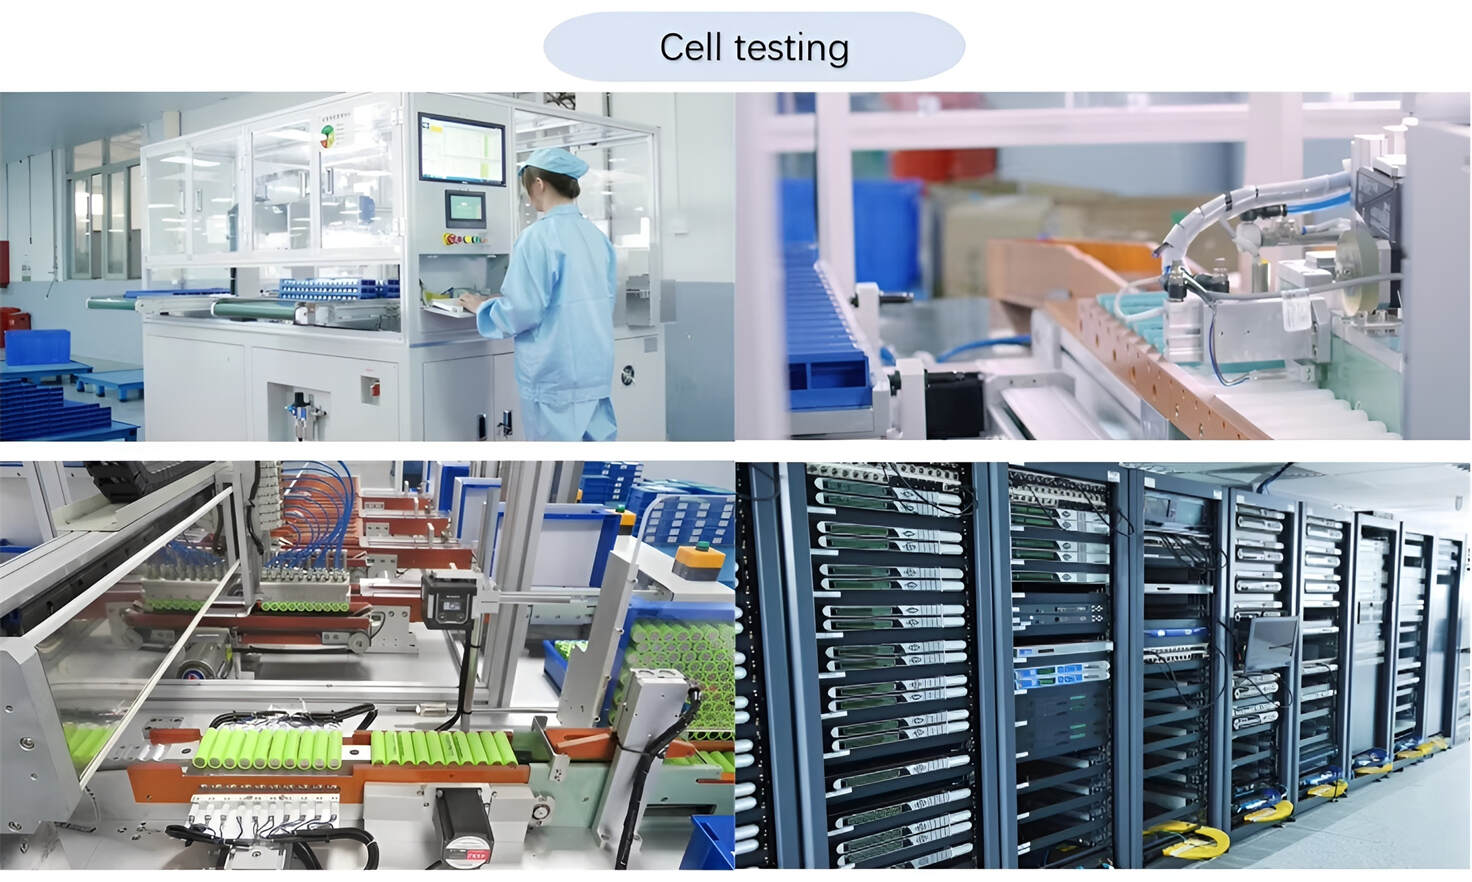
About Our Battery Cells
Our energy storage system products use brand new grade A LiFePO4 cells with a battery lifespan of more than 4,000 charge/discharge cycles.
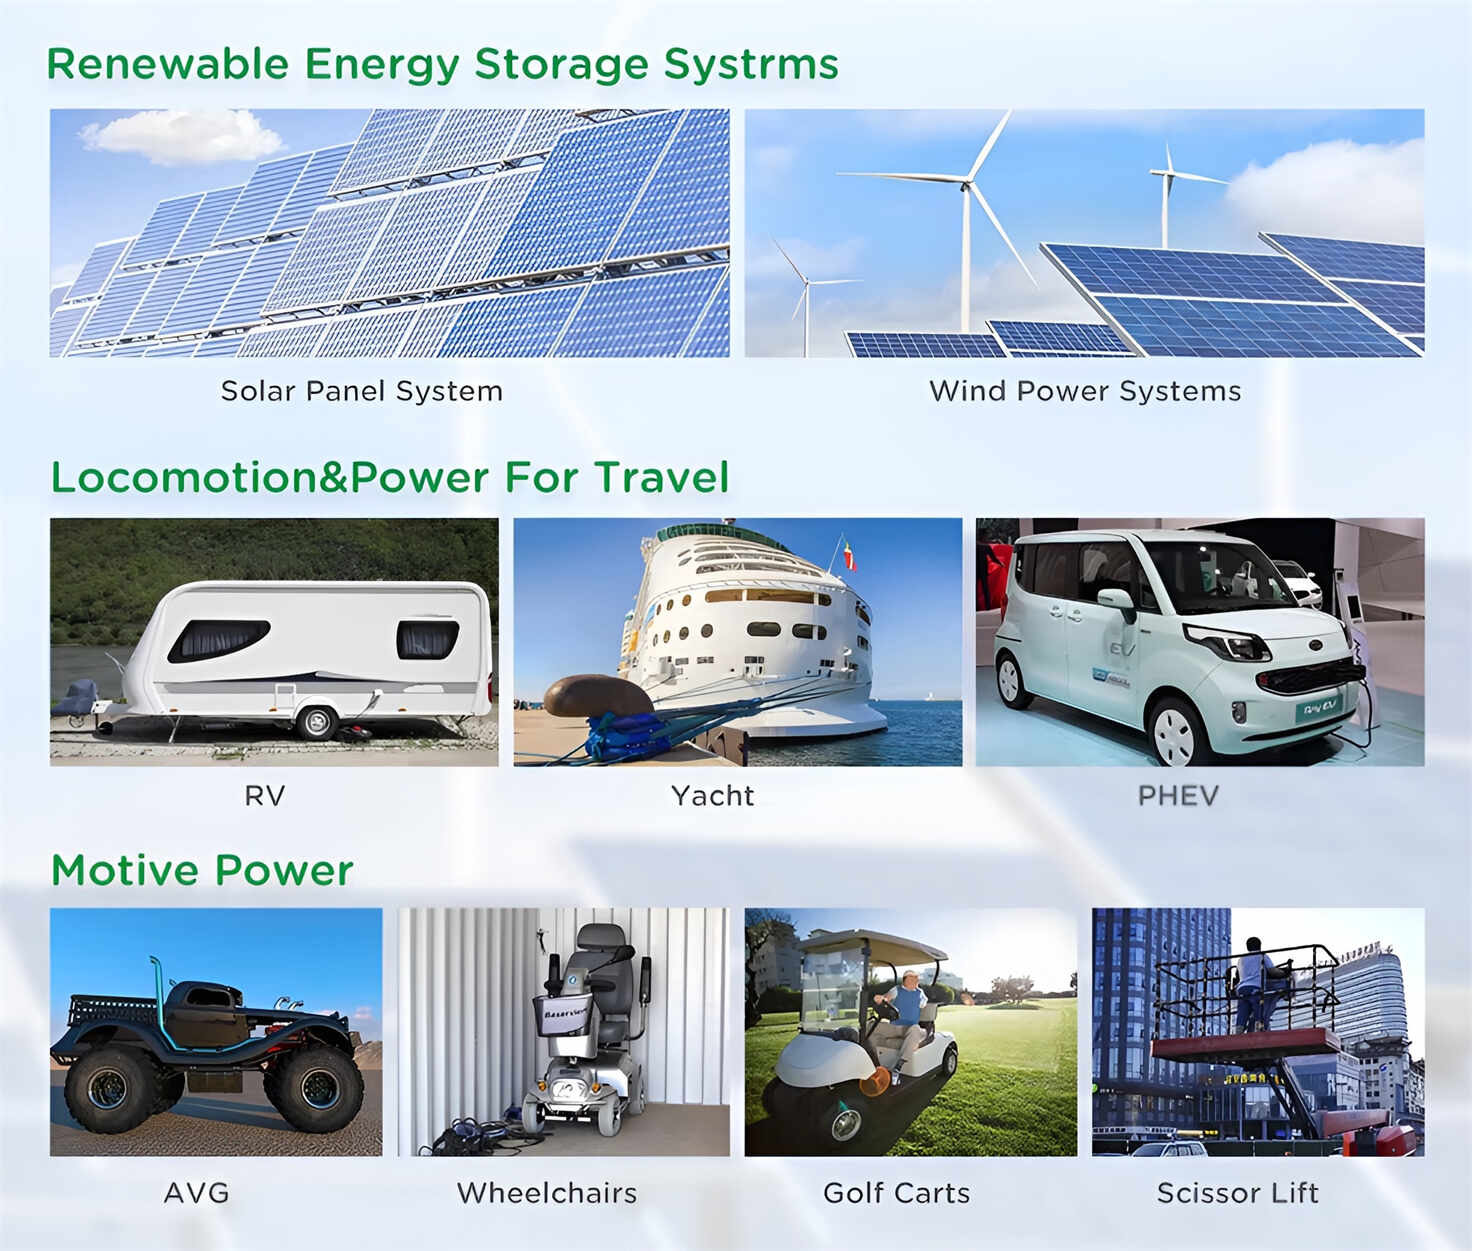
Applications in Different Industries
We supply customized & OEM battery pack, assemble cells with wiring, fuse and plastic cover, all the cell wires connected to PCB plug or built BMS.
Applications: E-bike, Electric Scooter, Golf Carts, RV, Electric Wheelchair, Electric Tools, Robot Cleaner, Robot Sweeper, Solar Energy Storage System, Emergency Light, Solar Power Light, Medical Equipment, UPS Backup Power Supply.
We can provide you with customized services. We have the ability to provide a vertical supply chain, from single cells to pack/module and to a complete power solution with BMS, etc.

HomSolar (Shenzhen) Technology Co., Ltd


")


